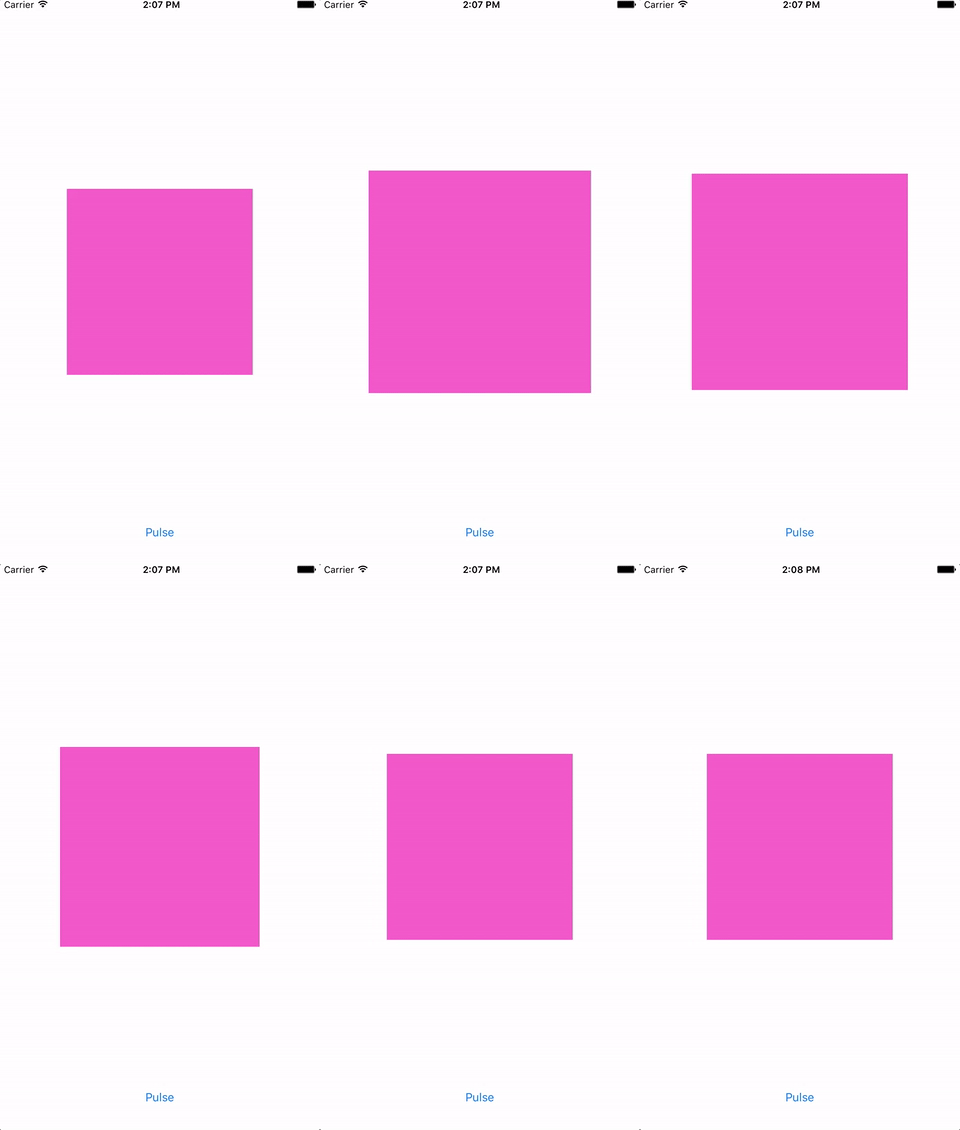
(Swift) Pulsating UIView
This tutorial is very similar to my prievious post about rotating UIViews, but this is how to do pulsating animations. You might need this type of animation for a loader, an onTap of a button, or whatever.

Tools:
- Swift 2.2
- Xcode Version 7.3.1
Step 1 to 4: Create swift project, set up your storyboard, add constraints, and connect your outlets The steps to set up this project this is pretty much the same as the rotating UIViews post, so check it out first. After that, you can just augment Step 5 to make your UIView pulse.
Step 5: Add code to pulse
In this example, we’re adding animation to pulse a UIView once the app loads. To do that, we’ll create a function, then call that function within the viewDidLoad lifecycle function.
This is the function that contains the animation.
func beginAnimation () {
  // code for animation
}
There are a couple of ways to animate your UIView to make it pulse. Below are 3 examples.
Version 1: Pulsate 3x I haven’t used this technique to animate things in my personal projects so I don’t have any strong opinions as to whether or not it’s a better way to animate, but here it is…
let scaleAnimation:CABasicAnimation = CABasicAnimation(keyPath: "transform.scale")
scaleAnimation.duration = 1.0
scaleAnimation.repeatCount = 3.0
scaleAnimation.autoreverses = true
scaleAnimation.fromValue = 1.0;
scaleAnimation.toValue = 1.2;
self.uiViewToPulsate.layer.addAnimation(scaleAnimation, forKey: "scale")
Version 2: To Pulse Forever
This is how I’ve learned to animate. I’ve selected .animateWithDuration with options and this allows me to specify that I want my UIView to repeat and then reverse after the first loop by pluggin in an array.
If I were to just pass .Repeat as the only thing in options, my UIView would keep on growing from its original size to 1.2 and then jarringly start over and over again.
Adding .Autoreverse will perform the reverse of the animation and help make the transitions be smoother.
The completion block is nil because I want my UIView to animate forever. Nobody would want their UIView to animate forever, but for this example why not?
UIView.animateWithDuration(1.0, delay:0, options: [.Repeat, .Autoreverse], animations: {
    self.uiViewToPulsate.transform = CGAffineTransformMakeScale(1.2, 1.2)
}, completion: nil)
Version 3: Pulsate 3x
This is similar to the code above except for the extra line UIView.setAnimationRepeatCount(3) and the lines in the completion block.
UIView.setAnimationRepeatCount(3) is what you’d use to set the number of times you want you animation to run for.
Then, the completion block is important to have to make the animation “reset” to it’s original size smoothly. If I were to have the block be nil like in the code above, after 3 animation rounds the UIView would stop abruptly at size 1.2x.
Having self.uiViewToPulsate.transform = CGAffineTransformMakeScale(1, 1) within the completion block makes it such that once the animation is completed, the UIView will transition to it’s original size at 1x.
UIView.animateWithDuration(1.0, delay:0, options: [.Repeat, .Autoreverse], animations: {
    UIView.setAnimationRepeatCount(3)
    self.uiViewToPulsate.transform = CGAffineTransformMakeScale(1.2, 1.2)

    }, completion: {completion in
        self.uiViewToPulsate.transform = CGAffineTransformMakeScale(1, 1)
})
Add the code in your viewDidLoad to start the pulse
self.beginAnimation()
Your file should look similar to this:
import UIKit

class ViewController: UIViewController {

  // 1. We just added this IBOutlet
  @IBOutlet weak var uiViewToPulsate: UIView!

  override func viewDidLoad() {
    super.viewDidLoad()

    // 3. Starting animation when app loads
    self.beginAnimation()
  }

  override func didReceiveMemoryWarning() {
    super.didReceiveMemoryWarning()
    // Dispose of any resources that can be recreated.
  }

  // 2. Function to pulse 3x
  func beginAnimation () {
      UIView.animateWithDuration(1.0, delay:0, options: [.Repeat, .Autoreverse], animations: {
          UIView.setAnimationRepeatCount(3)
          self.uiViewToPulsate.transform = CGAffineTransformMakeScale(1.2, 1.2)
          }, completion: {completion in
              self.uiViewToPulsate.transform = CGAffineTransformMakeScale(1, 1)
      })

  }
}
And that should be it. When you reload your simulator you should see a pulsating pink square!
You can get the storyboard project is in this repo.