3D Printing
I recently began fiddling around with 3D printing. In hind site, I should’ve started about a year ago because I had access to a 3D printer. Unfortunately, life happened and I never got around to it. Until now. :)

The 3D printing machines that I have access to are the FormLabs Form 1+ and the Tinkerine DittoPro.
The FormLabs Form 1+ machine requires a UV curing resin. This means that there is a detachable well that holds the liquid (this can potentially lead to hot mess if you’re not careful enough). Also, the fumes are moderately strong so there is a protective case around the machine.
The actual printing takes place upside down. This sounds cool, however, this can also lead to some potential problems if you want to print out a heavier object. What happens during this process is that the resin cures via UV lasers as the base of the printing platform and the solids adhere to an arm that slowly moves up. So as the arm moves up, the item that’s printing gets suspended in the air.
When you’ve completed your printing, you have to physically remove the base of the arm and then pry off your item. At this point, your item might still be malleable and it’ll definitely be goopy from residual resin. This process is definitely not dry. After you pry it off, which can be rather difficult, you’ll need to let it sit in a 91% alcohol bath for a few more minutes (some more fumes).
I don’t have any videos or images of it because it was messy for me, but you can definitely Google it. The printing is pretty slow because of the curing that occurs inside of the resin tank.
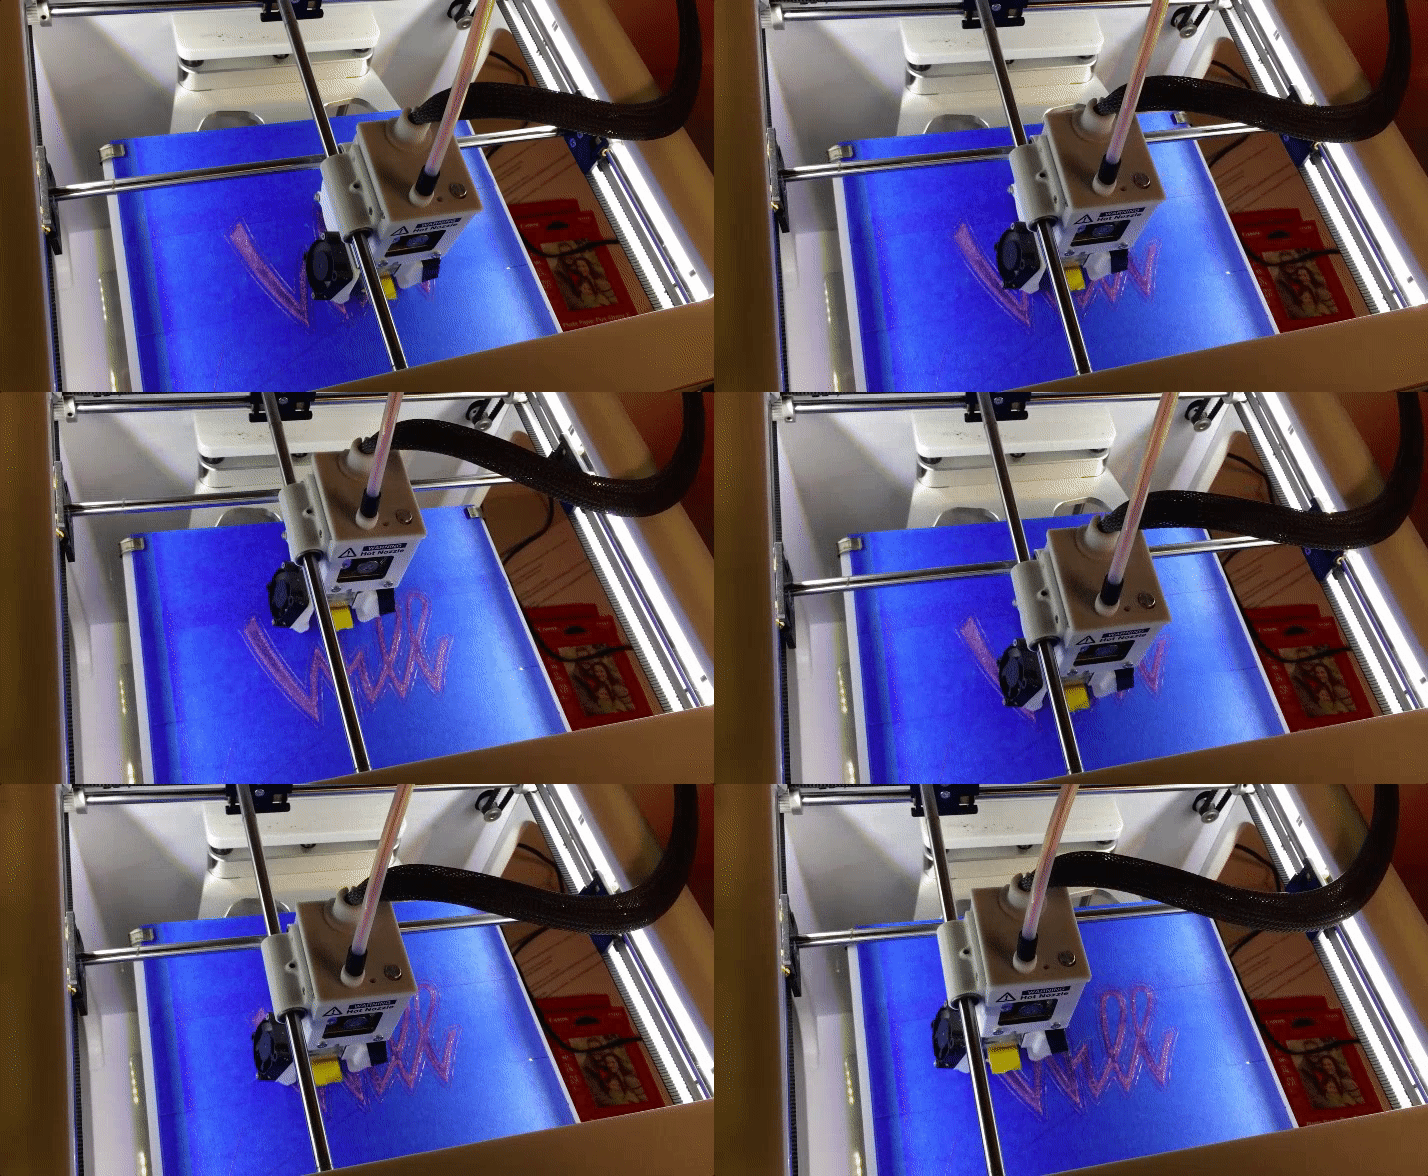
The Tinkerine DittoPro, on the other hand, requires a malleable filament (imagine something like a glue gun). You feed the filament, or “ink”, into the machine and the “ink” gets extruded out and guided into the shape of your item via some special arm at the top of the machine.
I personally found the Tinkerine DittoPro to be very intuitive to use because there were no extra steps to it. All I had to do was load my .g file via an SD card and print.
How to 3D Print on FormLab 1+ or Tinkerine DittoPro
Step 1: Create vector (ex Sketch)

Step 2: Save vector as an .esp file

Step 3: Open 3D software (ex Rhino 5) and import your .esp file
Step 4: Convert your imported vector into a layer and then extrude, bool diff, and/or union


Step 5: Select your object and export as .stl
Step 6: Import your .stl file in 3D printing program (ex Tinkerine DittoPro or FormLabs PreForm)


Step 7: Either print via the FormLabs Form 1+ (connect with usb) or save your project as a .g file and put it on an SD card that can be plugged into the Tinkerine DittoPro
